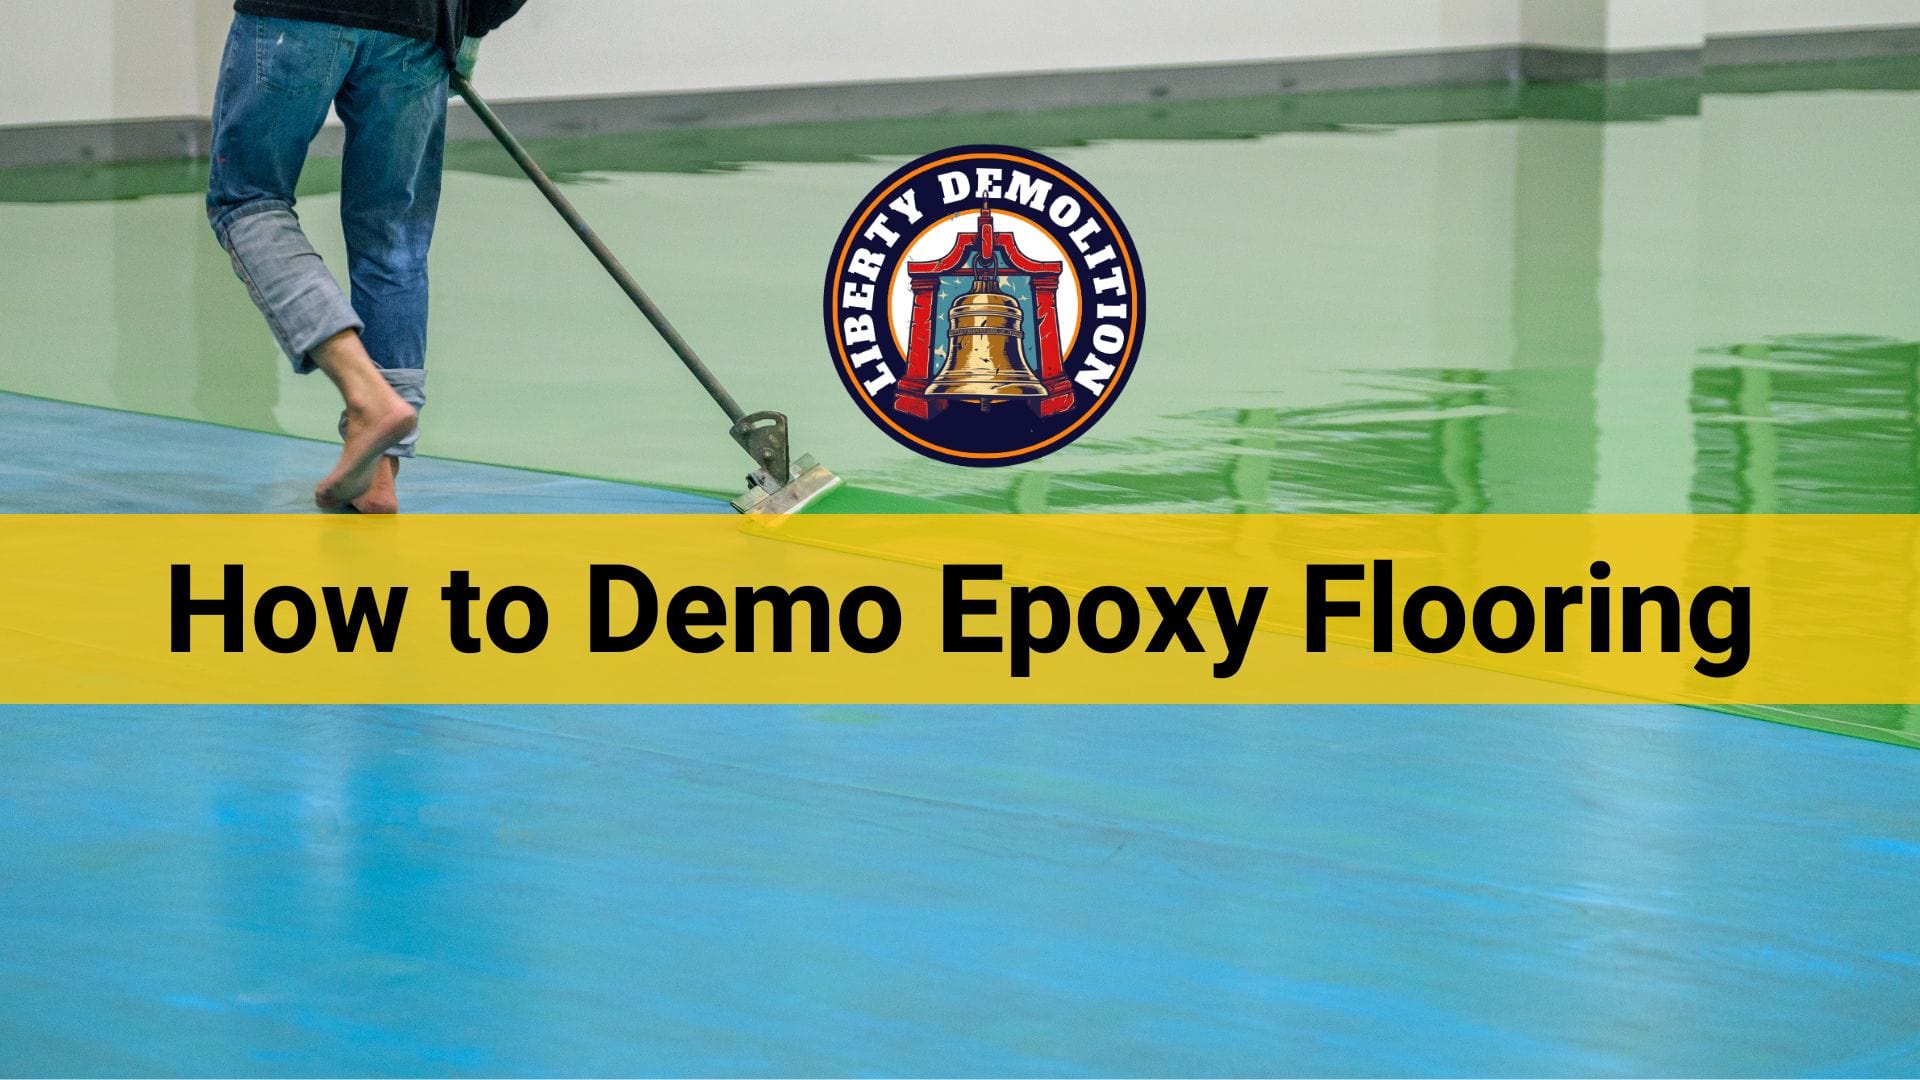
To remove epoxy flooring, first wear protective gear and assess the epoxy’s condition. Use tools like grinders, heat guns, and chemicals for removal, followed by a thorough cleaning of the surface.
Discover more in-depth strategies on how to demo epoxy flooring in our complete guide below.
Preparatory Steps for Removal
Epoxy flooring is both durable and versatile, which makes its removal a task that requires careful planning and execution. Epoxy flooring is created by combining epoxy resin with a hardening agent, which results in a strong, seamless surface. They can last up to ten years or more, depending on the traffic and usage, and do not have to be completely removed when old; a new finish coat can rejuvenate the existing floor.
Proper removal of epoxy flooring is crucial to avoid damage to the underlying surface and ensure safe and efficient renovation. Inadequate surface preparation is a primary reason for epoxy coating failure.
The following guidelines detail the preparatory steps necessary for the safe and effective removal of epoxy flooring.
Safety Measures and Tools Required
It’s essential to wear protective gear, including gloves, a mask, safety glasses or goggles, and appropriate clothing to cover your skin. Epoxy removal can involve exposure to harmful fumes and particulates, so a respirator with an organic vapor cartridge is recommended to protect against the inhalation of toxic vapors and dust.
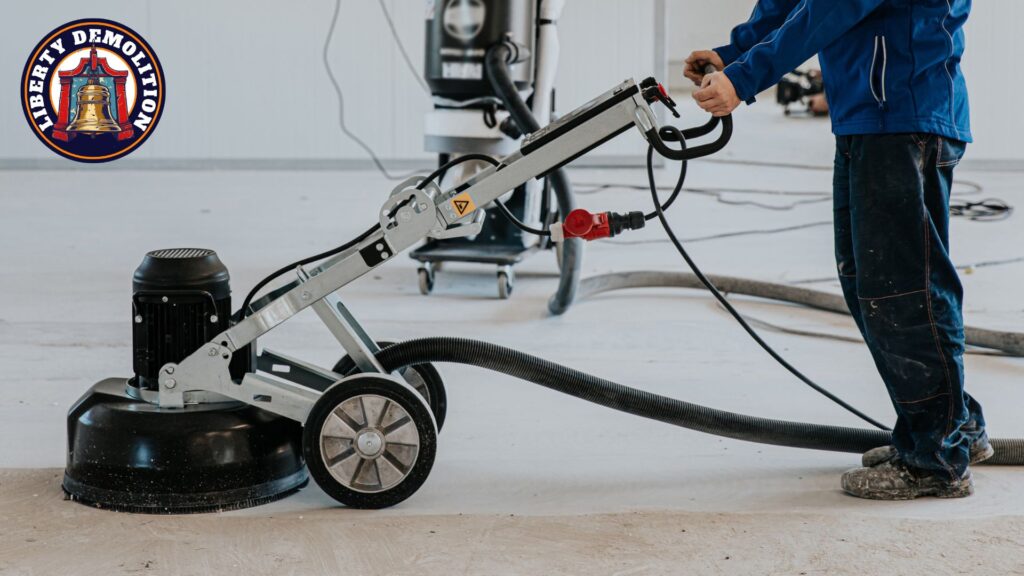
The process often requires tools like angle grinders with diamond blades, heat guns, hammers, pry bars, chisels, and floor scrapers. A dust mask should be worn to prevent inhalation of dust particles created during the removal process. Additionally, ensuring good ventilation is crucial; open windows or use a fan to circulate air and reduce exposure to fumes.
Assessing the Condition of the Epoxy Flooring
Before starting the removal process, it’s important to assess the condition of the epoxy flooring. This assessment will help determine the best method for removal. Factors to consider include the thickness of the epoxy layer, the type of substrate beneath it, and the overall size of the area covered.
If the epoxy flooring is damaged or has areas where the bond with the substrate has weakened, this could simplify the removal process. However, a strong bond and a thick epoxy layer might require more aggressive techniques, like grinding or the use of chemical strippers.
Remember, handling epoxy resins and hardeners requires attention to safety. These materials can cause skin irritation and respiratory issues if not handled properly. It’s important to read product labels for safety instructions and follow recommended guidelines for handling and disposal.
Removing Uncured Epoxy from Concrete
Removing uncured epoxy from concrete surfaces requires careful handling and specific techniques to ensure complete removal without damaging the concrete. Here’s a guide to help you through this process:
Identifying Uncured Epoxy
Uncured epoxy typically has a tacky or sticky texture. It may not have hardened completely, often due to improper mixing of the resin and hardener or incorrect proportions. This state of epoxy is easier to remove compared to its cured counterpart. Recognizing uncured epoxy is crucial before attempting removal, as the methods differ significantly from those used for cured epoxy.
Techniques for Removing Uncured Epoxy
Several methods can be effective in removing uncured epoxy from concrete surfaces:
- Acetone: Acetone can be applied to the uncured epoxy to decrease its viscosity and make it easier to remove. Spread acetone on the surface and let the epoxy soak it up. Once softened, you can scrape off the epoxy with a putty knife. Be sure to use gloves and work in a well-ventilated area when handling acetone.
- Heat Application: A heat gun can be used to further soften uncured epoxy. After applying heat, you can scrape off the epoxy. This method requires caution to avoid overheating and damaging the concrete surface.
- Solvents: Other solvents, like denatured alcohol, can also be used to loosen the epoxy. Similar to acetone, you should apply the solvent, allow it to penetrate and soften the epoxy, and then scrape it off.
- Mechanical Removal: For stubborn, uncured epoxy, mechanical methods like scraping with a wallpaper scraper can be employed. This method requires physical effort and should be done carefully to avoid damaging the concrete.
When using solvents like acetone or denatured alcohol, always read the product’s safety data sheet for proper handling and disposal instructions. Additionally, ensure that the workspace is well-ventilated and that personal protective equipment (PPE) like gloves and safety goggles are worn to protect against harmful fumes and skin contact.
Removing Cured Epoxy from Concrete
Removing cured epoxy from concrete surfaces presents unique challenges but can be accomplished through either mechanical or chemical methods. Here’s a concise guide to both approaches:
Challenges in Removing Cured Epoxy
The challenge of removing cured epoxy lies in its robust adhesion to concrete surfaces. Cured epoxy is known for its durability, making its removal complex and labor-intensive. The removal process, whether mechanical or chemical, generates hazardous waste.
This waste, which can take the form of epoxy dust or toxic chemical fumes, poses significant health risks and potential damage to the surrounding areas. These risks often make it advisable to seek professional assistance for the efficient and safe removal of the epoxy.
Mechanical Methods for Removal
When it comes to mechanical methods, using a floor grinder or shot blaster is common. These machines employ abrasive surfaces or media to efficiently strip away the epoxy layer. However, this method requires appropriate safety equipment, such as gloves, goggles, and respirators, to prevent harmful exposure to hazardous dust.
Preparing the area by clearing it of furniture or other items and sealing off cabinets, doors, and windows is essential to prevent the spread of debris. Methodical removal, working in small sections, ensures even coverage and prevents damage to the concrete underneath. After completing the removal process, thorough cleaning is necessary to eliminate all residues.
Chemical Methods for Softening Epoxy
Alternatively, chemical methods involve using solvents like isopropyl alcohol, denatured alcohol, or acetone to soften the epoxy for easier removal. This approach requires caution due to the flammability and toxic fumes of the solvents.
Ensuring proper ventilation and wearing personal protective equipment are critical when using these chemicals. The application of the solvent must be followed by a waiting period, allowing the epoxy to soften before it is scraped off. Following this, it’s imperative to clean up any residual solvent or epoxy to mitigate lingering hazards.
Post-Removal Cleanup and Finishing
After the removal of epoxy flooring, the next critical steps involve cleaning the concrete surface and preparing it for new flooring. This process is not just about maintaining aesthetics but also about ensuring the safety and longevity of the subsequent installations.
Cleaning the Concrete Surface
The cleaning of the concrete surface post-removal is a detailed process that involves several stages:
Initial Sweep
This stage is focused on the removal of all large debris, including scraps of materials and construction dust. A thorough sweep of the floors, walls, and other surfaces is essential.
Using a high-quality vacuum cleaner with a HEPA filter is recommended to capture fine particles and prevent them from being released back into the air. Personal protective equipment (PPE), such as goggles and a professional-grade N95 mask, is crucial during this process.
Detailed Cleaning
The final cleaning involves a meticulous approach to ensure all surfaces are free from any remaining dust or debris. This includes wiping down walls, ceilings, floors, and other surfaces with a damp cloth or mop. Special attention should be paid to different surfaces, which may require varied cleaning methods.
For example, hardwood floors might need a different approach compared to tile floors. Additionally, cleaning all fixtures and appliances in the area is important to ensure a comprehensive cleanup.
Preparing Surface for New Flooring
Once the concrete surface is thoroughly cleaned, it’s time to prepare it for new flooring:
- Assess the Surface Condition: Examine the concrete for any damages or irregularities that might have occurred during the removal process. It’s crucial to repair any cracks or damage to ensure a smooth foundation for the new flooring.
- Surface Leveling and Smoothing: If the concrete surface is uneven, it might require leveling. Using self-leveling compounds can help create an even base for the new flooring.
- Moisture Testing: Conducting a moisture test on the concrete is vital before installing new flooring. Excessive moisture can lead to issues like mold growth or flooring failure.
- Application of Sealant or Primer: Depending on the type of new flooring, applying a sealant or primer might be necessary to enhance adhesion and provide a protective layer over the concrete.
Frequently Asked Questions
How Do I Know if the Epoxy Is Cured or Uncured?
You can determine if epoxy is fully cured when it is hard to the touch and no longer sticky. Typically, epoxy takes about 7 days to fully cure, but this can vary depending on the type of epoxy and the conditions in your workspace.
If you want to be certain, a moisture meter can be used to check if there’s still moisture in the epoxy, indicating it isn’t fully cured yet. The maximum properties of epoxies are only achieved by curing at high temperatures for extended periods.
How Do I Dispose of Removed Epoxy Material?
Disposal of epoxy material should be done in accordance with local regulations. Typically, solid waste like cured epoxy can be disposed of as regular waste. However, liquid waste containing chemicals or solvents should be disposed of as hazardous waste. It’s important to check with your local waste disposal services for specific guidelines.
Can I Apply a New Flooring Material Immediately After Epoxy Removal?
Before applying new flooring material, ensure that the concrete surface is thoroughly cleaned and prepared. This includes repairing any damage, leveling the surface if necessary, and conducting a moisture test. The surface should be completely dry and free from any epoxy residue. It’s advisable to wait for the concrete to cure properly before applying new flooring material.
Leave Safe Epoxy Flooring Removal to the Pros
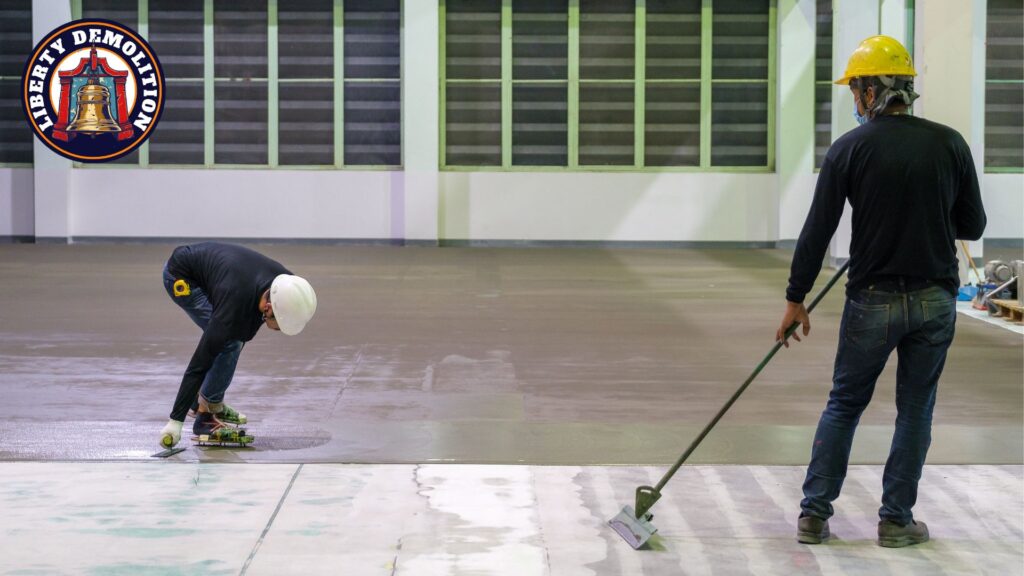
Removing epoxy flooring is tough, sticky, and demands careful handling. If you’re feeling overwhelmed, don’t sweat it. You don’t have to tackle this alone.
At Liberty Demolition, we specialize in safely demolishing tough stuff like epoxy flooring. Our Philadelphia team is trained to handle these challenging projects with care and precision, ensuring your safety and peace of mind.
If you’re stuck or unsure, give us a call. Let’s handle your demolition needs the right way—the safe way.
